Getting Your UV Curing Right for Printed Fabrics
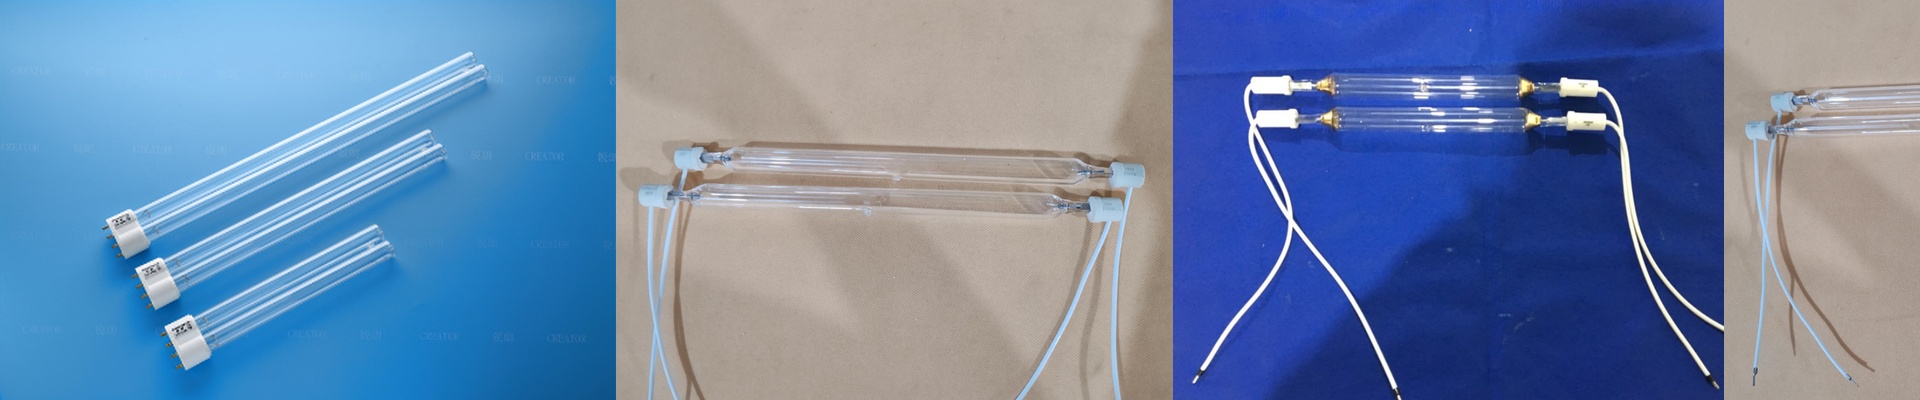
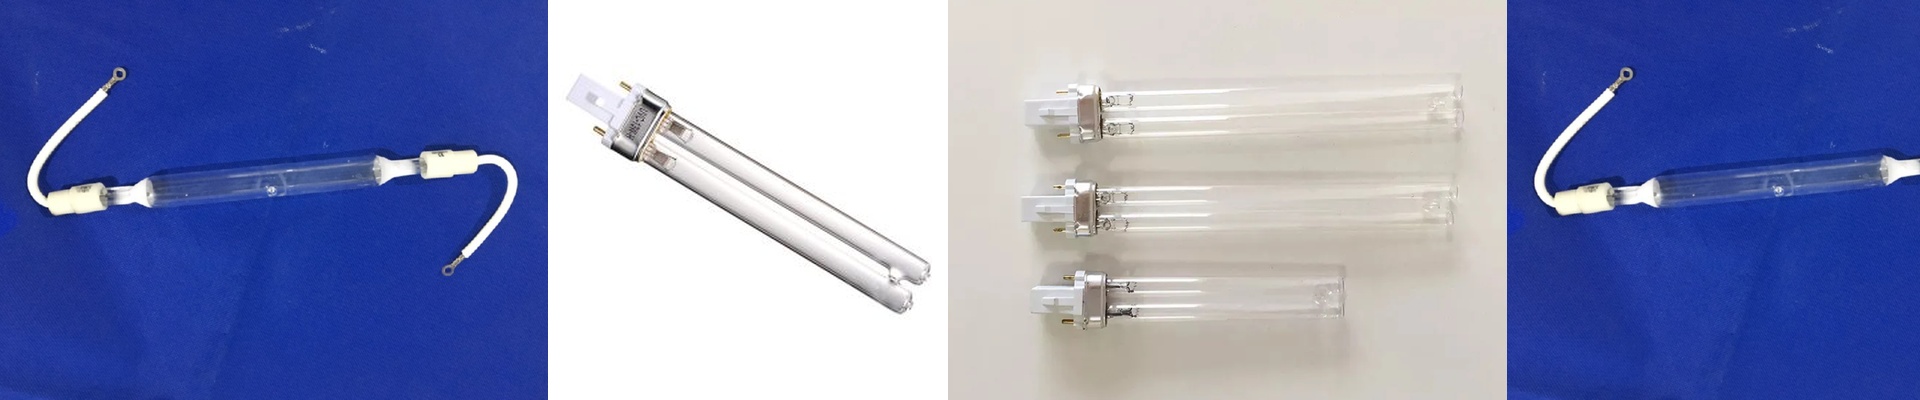
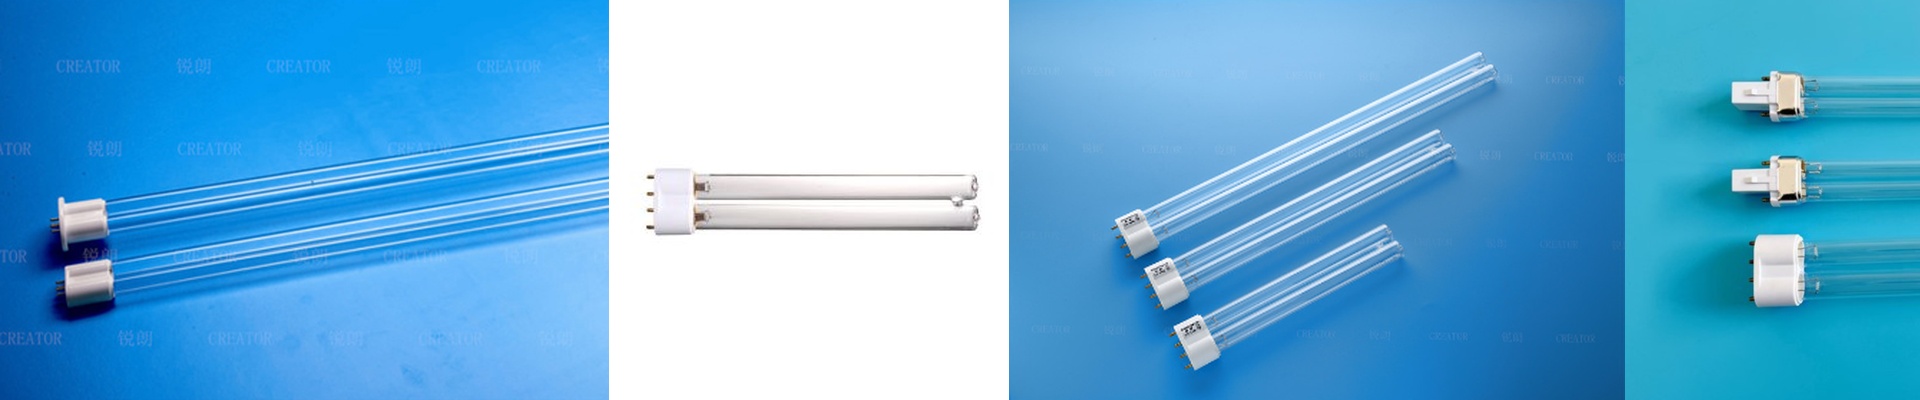
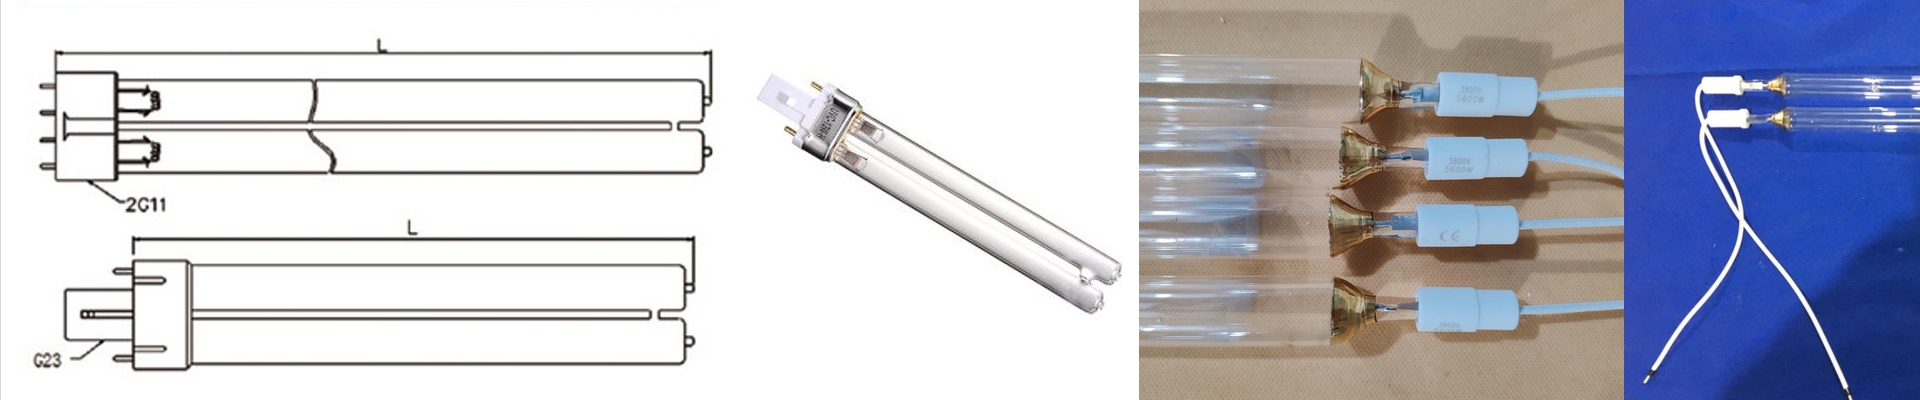
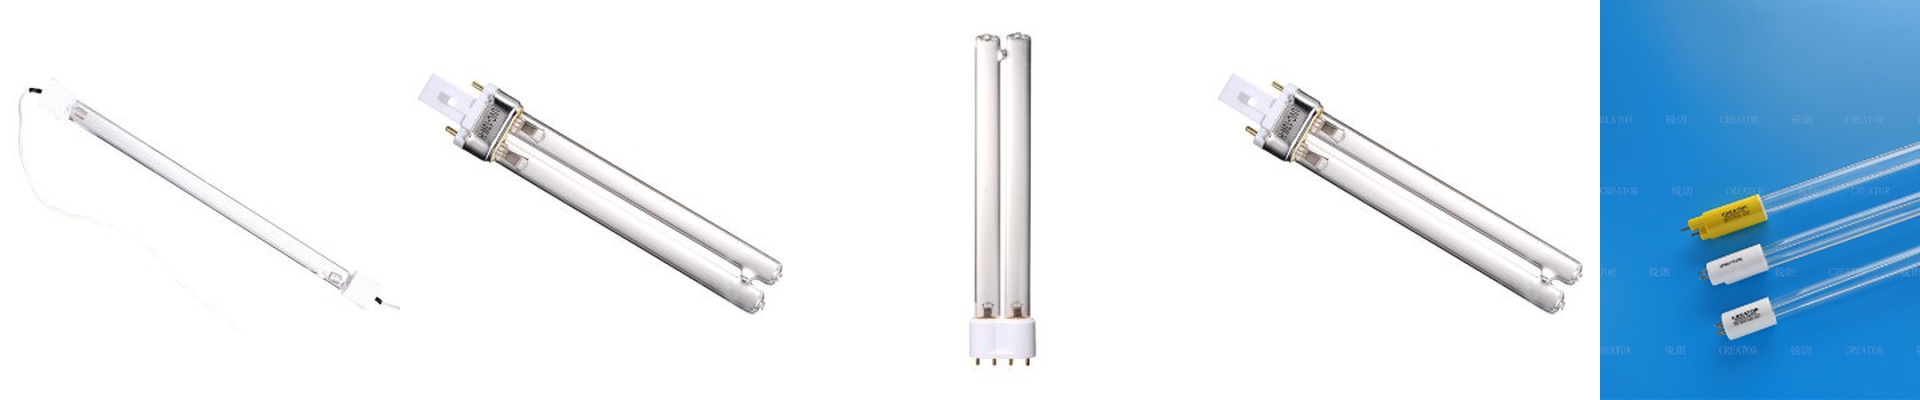
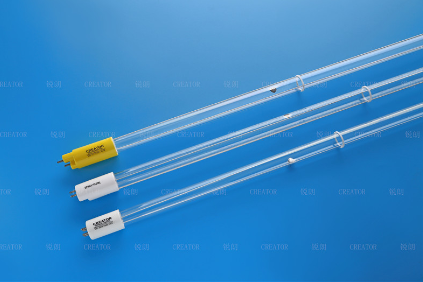
Let’s be honest: curing ink on fabric is a bit of a tightrope walk. You need enough power to snap that ink into place, but if you go overboard, you’re just scorching your material. It’s all about finding that sweet spot between raw power and heat control. Matching the light to the ink We don’t just give you a generic lamp. We look at the photoinitiators in your specific ink first. Most of the time, that means dialing in the UV-A or UV-C spectrum so the ink actually grips the fiber. If you’re running wide-format prints, you know the nightmare of “zebra stripes”—those annoying uneven cured zones. We fix that by staggering the lamp arrays. It keeps the energy dose steady across the whole width of the web. No surprises. Fighting the heat To keep things running smooth, we use high-purity fused quartz glass. It lets the UV light through while handling the stress of being turned on and off rapidly. But here’s the thing: high intensity usually means high heat. If you’re pushing a lot of watts through a short tube, your fabric might shrink or turn yellow. To stop that, we can add specialized coatings that filter out the infrared (IR) radiation. Just keep an eye on your exhaust system—it needs to be strong enough to pull that heat away fast, or you’re just baking your fabric. Keeping it simple Nobody wants to spend their afternoon rewiring a rig just to change a bulb. That’s why we build our lamps as drop-in replacements with standard connectors. They’re compact, they fit, and they just work. One last tip: don’t trust your gut (or your hand) to tell you if a lamp is still working. A lamp can feel hot to the touch but still be losing its punch. Keep a close eye on your mW/cm² levels. Once that output dips, your prints will start to smudge, and that’s a headache you don’t need.